Deliver your site through Fastly
Create a service to deliver your website through Fastly CDN in a few short steps.
Delivering your website through a CDN gives your users a faster and more reliable experience. The server hosting your content (your origin) may be far away from your users, causing latency when they visit your site. Fastly caches your content closer to users and delivers it to them directly instead having to fetch it from the origin every time you have a visitor. By reducing data transfer from cloud storage services, caching also makes your site more efficient and scalable!
This tutorial will help you deliver your website through Fastly in just a few short steps. Here's what you'll need:
- Your origin hostname - this is the address where your content is hosted.
- A domain - If you're using your own domain, you'll need access to your DNS records.
HINT: If you don't have an existing site you want to use Fastly CDN with, you can try it with our demo website at glitchdotcom.github.io, which you can optionally fork and deploy to GitHub Pages or anywhere else you like.
Create a CDN service
Sign up for a free Fastly account if you haven't already. Then, create a CDN service:

- Click Create service and select CDN.
- Give your service any name you like.
- Add the domain you plan to route through the CDN, for example
www.your-domain.com. Users visiting your domain won't be sent through Fastly until you update your DNS records. If you don't have a domain you're ready to use with Fastly, you can use a Fastly test domain (your-test-site.global.ssl.fastly.net). - Enter your origin host, which will be a domain or IP address.
- If you’re using a developer platform like Amazon S3, the origin hostname will be a subdomain assigned to your project or bucket. For example:
your-bucket.s3.us-east-2.amazonaws.com
- If you bought a hosting package from a provider who perhaps also sold you your domain, your origin host may be at an IP address you'll find in your provider settings, or at a subdomain you created, for example:
origin.your-domain.com
- If you’re using a developer platform like Amazon S3, the origin hostname will be a subdomain assigned to your project or bucket. For example:
- Leave the default settings in place and click Activate!
Fastly will open your service config. Click the Test domain link to open your deployed site. The service might not be available immediately, so if you see an error, wait a minute and try again.
(Optional) Test your site performance
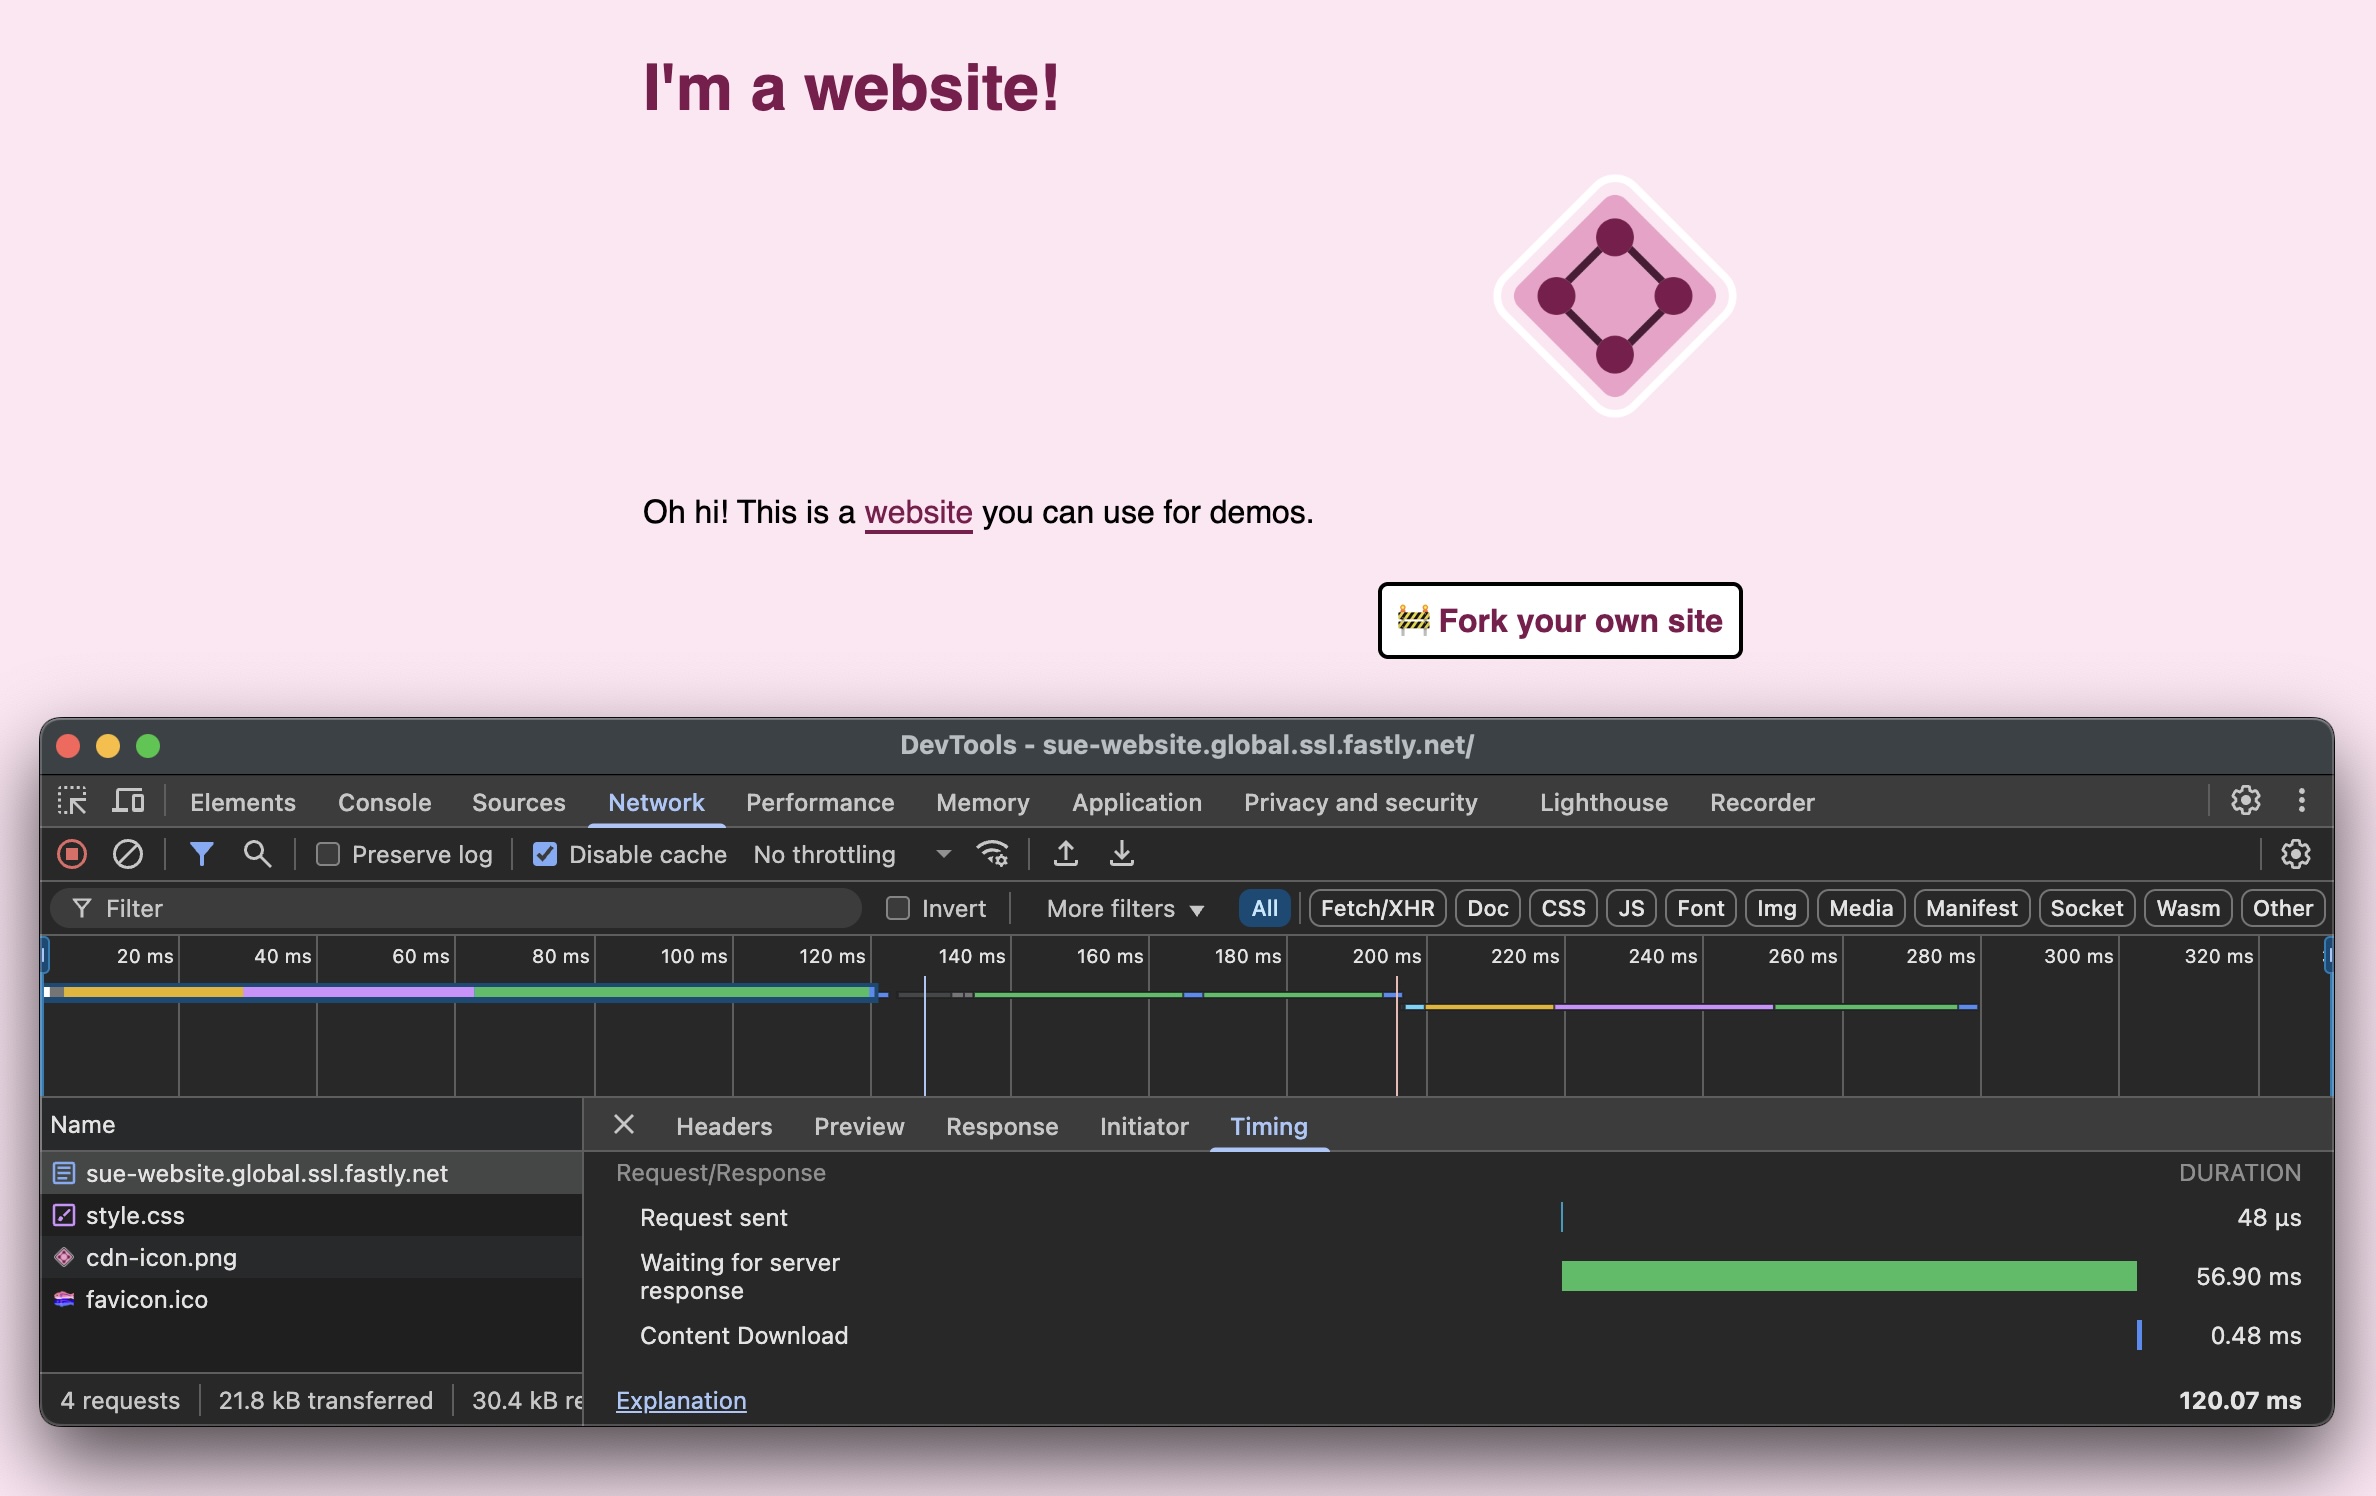
Try out a performance benchmark on your origin website and compare it to your Fastly deployed version. You can use your web browser to carry out performance tests - the available tools will depend on your browser.
In Chrome, with your origin site open, navigate to your developer tools using View > Developer > Developer Tools. Open the Network tab and reload the page. Select the site homepage address at the top of the Name list, then open Timing.

With your Fastly domain open (the address will end .global.ssl.fastly.net), carry out the same performance test and compare the time to your origin test. Note that the first time you load your Fastly domain, the site may take longer because the content has not yet been stored in the Fastly cache. Once it's in cache it will hopefully be faster!
HINT: Your site content will stay in the cache until it expires or is evicted – it's most likely to stay in the cache longer if you have frequent visitors.
Sending domain traffic to Fastly
Ready to send visitors to your domain through Fastly? Great, you can do that with free TLS and a couple of updates to your DNS records.
Add your domain to a service
If you haven't added a domain to the service yet, do so now by editing the service configuration. Go to Domains > Create domain. Enter the version or versions of your domain that you want to send through Fastly, for example www or another subdomain.
HINT: If you're working with a new domain, we recommend using the www subdomain anywhere you publish links to your site, and redirecting the apex domain (the version without a subdomain) to the www version. You can send both versions through Fastly and configure your service to handle the redirect – if you want to do that, add your apex domain to your service as well as the www version.
Click Add then activate your service.
Set up TLS for your domain
To set up TLS, go to Security > TLS Management > Manage TLS Certificates, then click either Get started or Secure another domain depending on whether it's your first time setting up TLS.
Fill out the fields as follows:
- Enter the domain names you added to your service and click Add.
- Select Certainly.
- Leave all other fields set to their default values then click Submit.
Now you'll need to verify your domain ownership by copying some info from Fastly into your DNS records. You'll access these wherever you registered the domain. The exact flow will vary a little depending on your provider.
- In your Fastly TLS subscription, click Verification options.
- Copy the ACME DNS challenge CNAME (
_acme-challengefollowed by your domain name) and value (a string of characters followed byfastly-validations.com). - In your DNS account, add a new
CNAMErecord with the_acme-challengevalue you copied as the as the hostname, and thefastly-validations.comvalue as the address. Save your new record. - Back in Fastly, with any luck you'll soon see your domain being validated and your certificate will be issued.
Direct traffic to Fastly
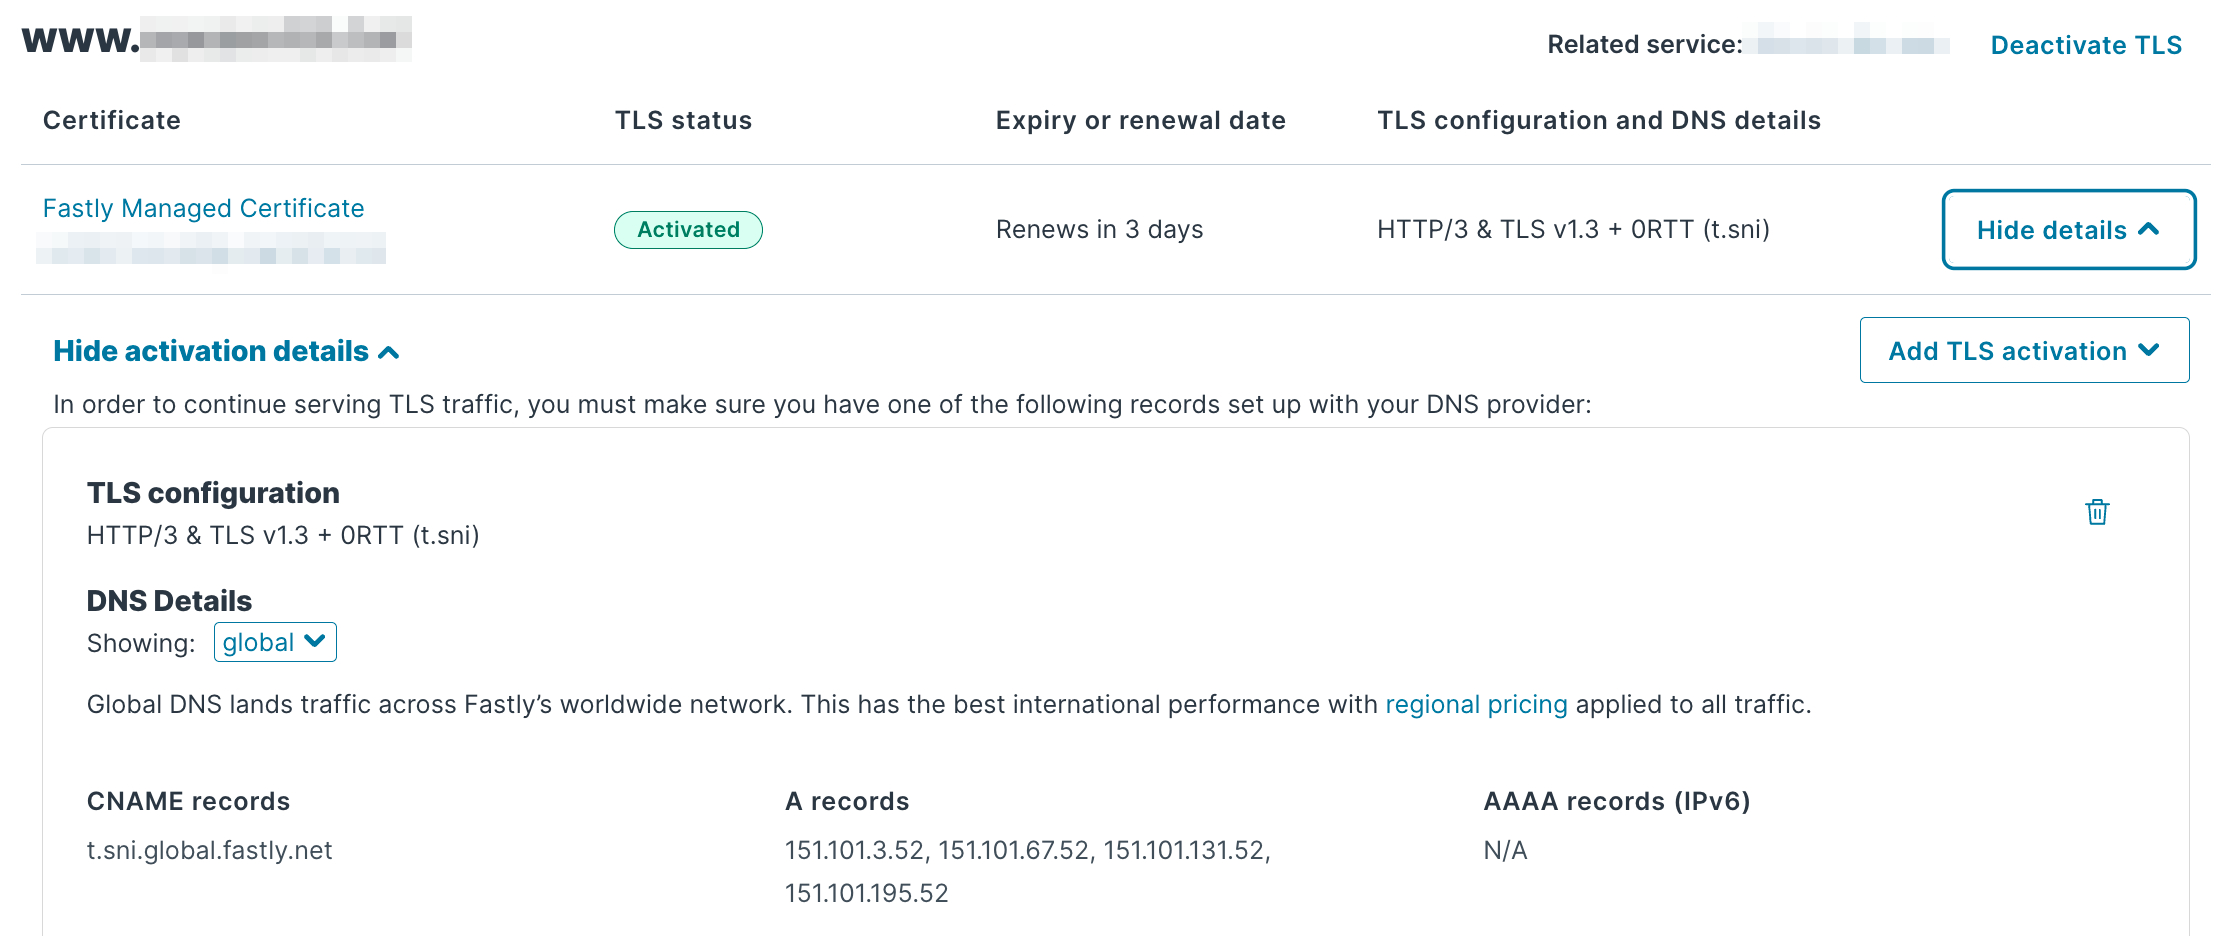
To send your domain traffic through Fastly, you'll need to get the CNAME record from your new certificate – it will be one character followed by .sni.global.fastly.net.

Back in your DNS settings, add or edit a CNAME record for www (or whichever subdomain you want to use). Enter the value you copied from your certificate and save your record.

If you're sending your apex domain through Fastly and have added it to your service and TLS subscription, you'll need to use A records for the apex domain in your DNS settings as well as the CNAME record you added for the subdomain. You'll find the IP addresses to use as your A record values in your TLS subscription: TLS configuration and DNS details > View / Edit. You can then set your Fastly service to redirect the apex domain to the www version by editing the service configuration, and navigating to Settings > Redirect traffic to www subdomains.
HINT: For more detail on setting up your certificate, refer to the TLS quick start guide and Routing traffic to Fastly.
What happens when users visit your domain
When someone requests the domain, they'll be sent to Fastly, and Fastly will return a response to the visitor based on the service config that includes the domain.
- If the content is in the cache, Fastly will return it without visiting the origin.
- If the content is not in cache, Fastly will fetch it from the origin and store it in cache (if it's cacheable content).
What to try next
- Discover CDN info in your browser
- With your Fastly site open, use your browser tools Network tab to find Headers like
X-CacheandX-Served-Byto find out which Fastly POP is delivering the content.
- With your Fastly site open, use your browser tools Network tab to find Headers like
- Purge the cache
- When you make a change to your origin and your website has been cached by Fastly, your users may continue to receive the cached version. You can configure caching policies in your site implementation, but you can also purge the cache manually through the Fastly control panel.
- Create a synthetic response
- Synthetic responses give your users a more reliable experience if something goes wrong on your origin server. You can add a response for specific errors, such as 404s your origin returns if the user requests a page that doesn't exist.