
Publish your static site to the edge
Share your website with the world without needing a host.
If you have a static website, like a blog or a React app, you can deploy it to Fastly Compute and serve it to your users from the network edge without needing a web host. In this tutorial, we’ll run through getting your site online in a few simple steps with the Static Publisher for JavaScript.
Follow the steps below to publish your site from a local developer environment. The steps include an example static site built using the Eleventy framework, but the steps should work for other similar frameworks.
HINT: If you'd prefer a guided flow in a web IDE, check out the GitHub Codespaces project linked below for deploying an Eleventy blog to the edge from your browser without installing any local tooling.
Prerequisites
You’ll need Node.js and npm installed on your computer.
You can run and test the app locally without signing up for Fastly, but when you’re ready to deploy, you’ll need to sign up and generate an API token. We'll outline how to do that later.
Prepare your site files
If your site has a build process, run that to prepare the files you want to deploy.
If you’re just using plain HTML, CSS, and client side JS without a build process, you’re all good! All you need is the directory your files are stored in on your computer.
If you’re using another generated static site framework, you just need the directory your built files are in, for example dist. Check the developer documentation for your chosen framework or your project configuration if you aren't sure which directory it uses.
If you don't have files you want to deploy, use the Eleventy example to try the publish flow with an example site using the Eleventy framework.
Eleventy example
Use the following commands to create an Eleventy website and prepare the files to deploy to fastly.
Clone the base blog:
git clone https://github.com/11ty/eleventy-base-blog.gitSet up the sample Eleventy blog to run locally:
cd eleventy-base-blog && npm installBuild the blog to prepare the files you'll deploy to Fastly:
npm run buildThe files are built in the
_sitedirectory by default.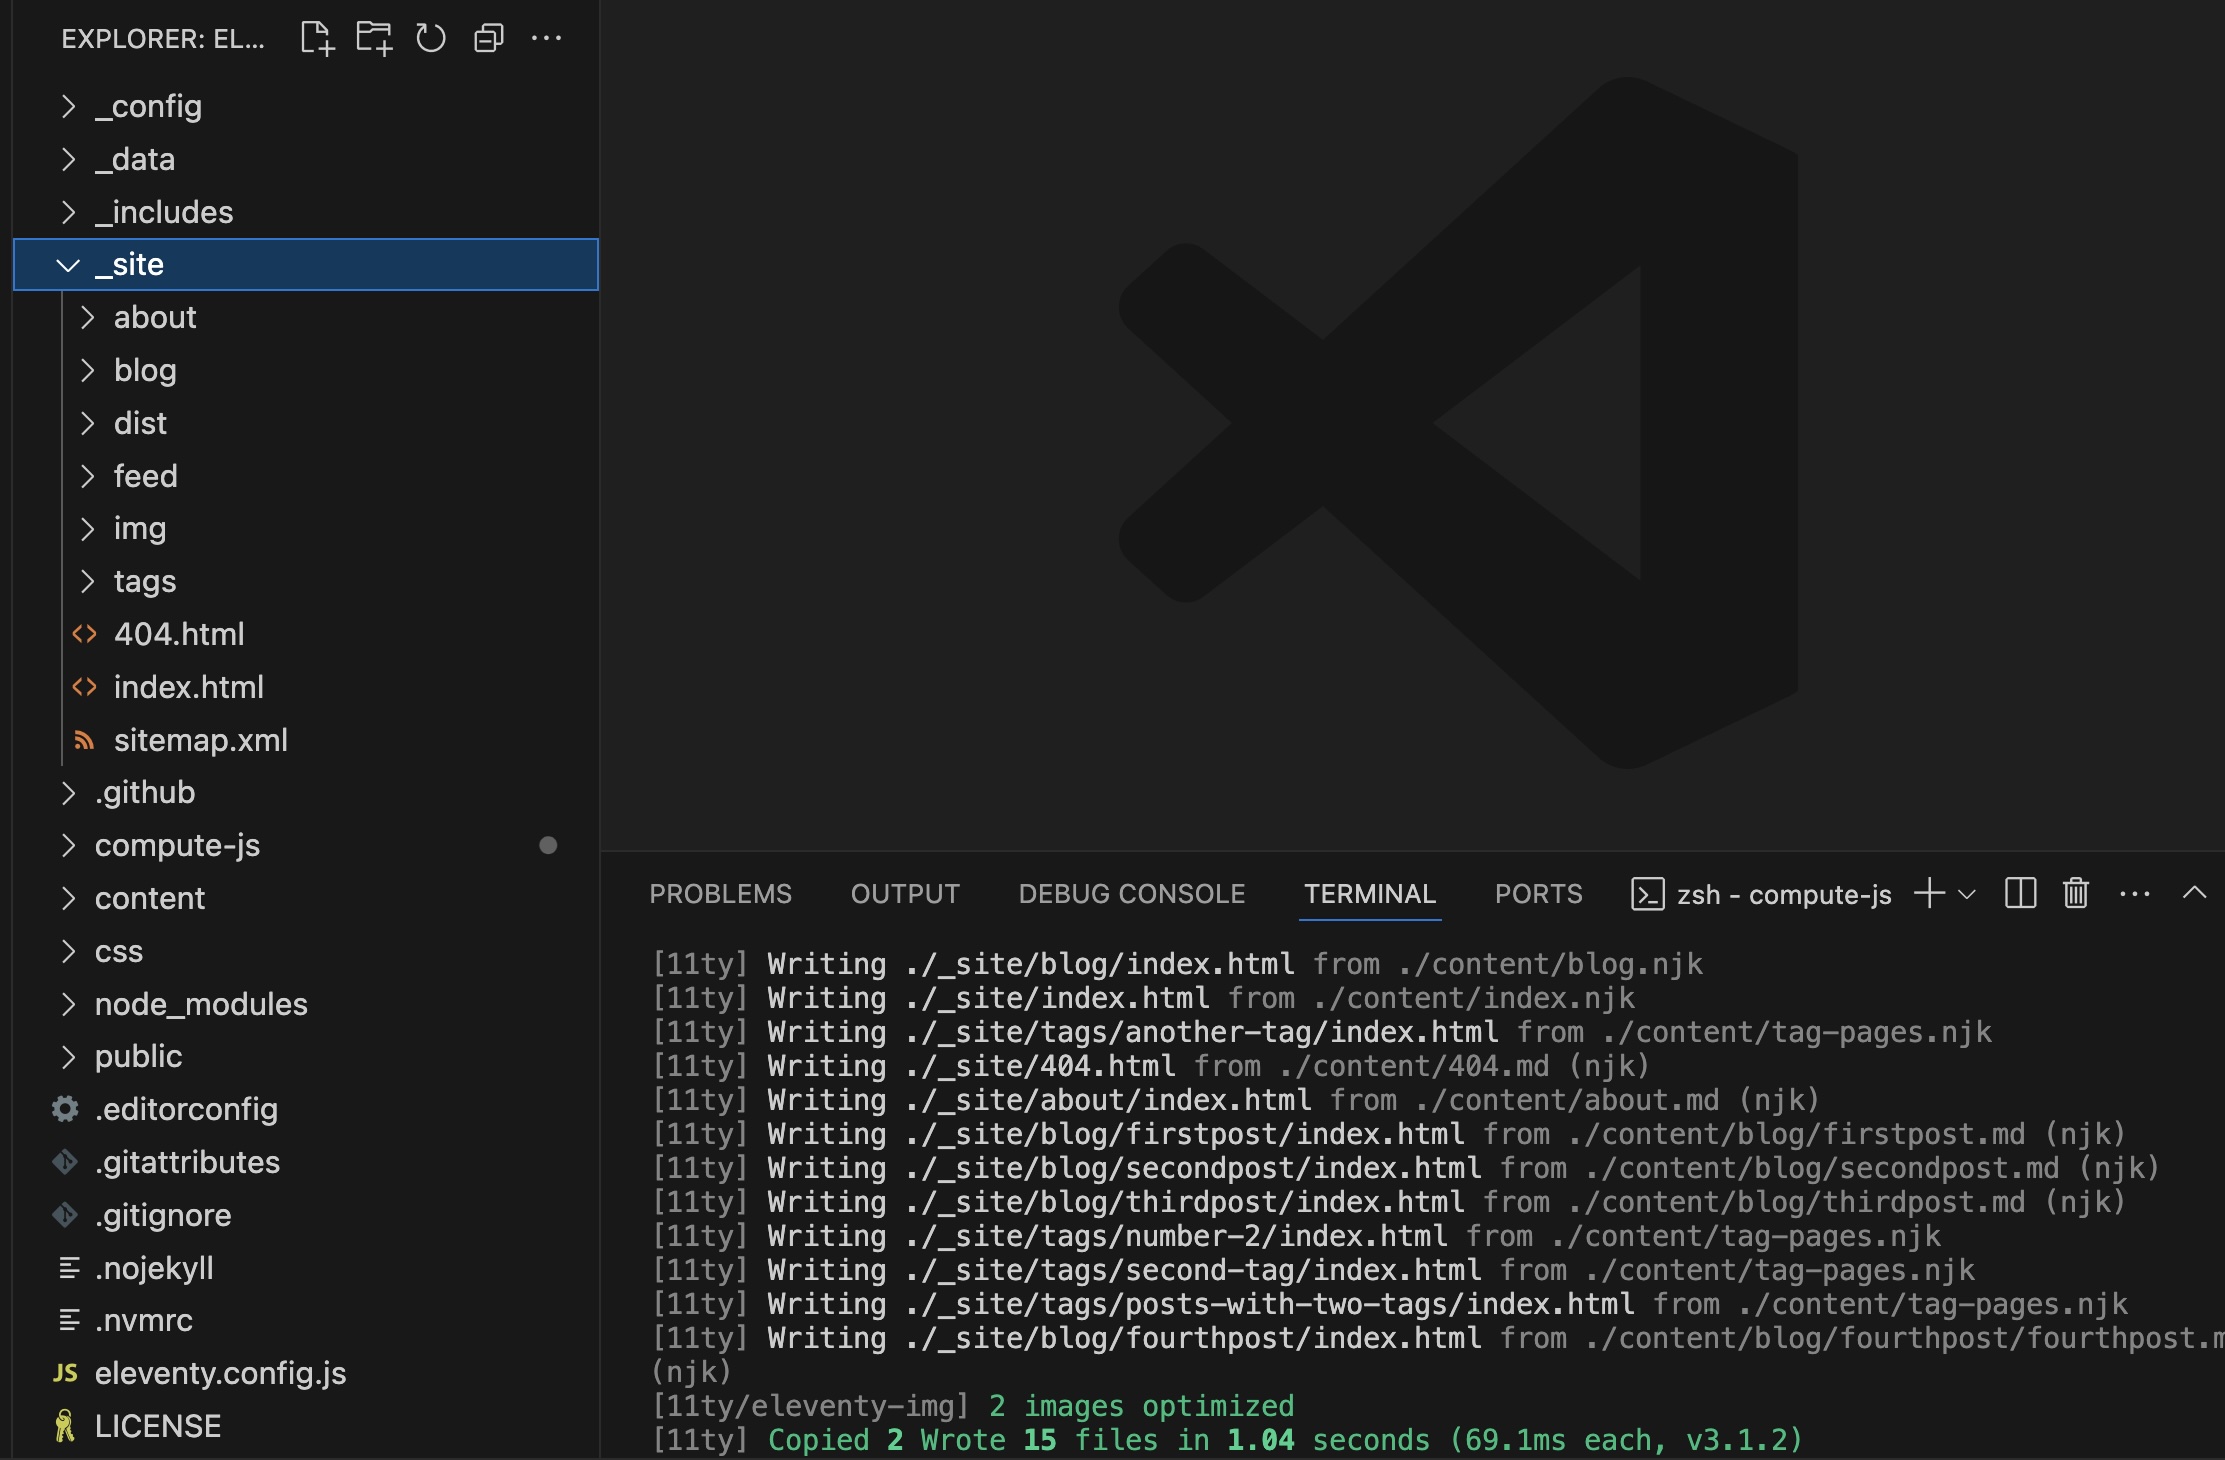
Scaffold your Compute app
The Static Publisher tool will create a Compute app that runs on the Fastly network and returns your website content (site assets like HTML, CSS, and image files) when visitors request it. The tool works by uploading the content to a KV Store at the network edge where the Compute app fetches it when people visit your site.
Open a terminal and navigate to the root directory for your static site project. The directory should contain the folder holding your built files (i.e. _site or dist should exist within the directory you're in).
Run the following command to scaffold a Compute app based on your built website files, changing the name of the build directory if yours is different (for example, using dist instead of _site) and optionally changing the name of the KV Store to suit your project:
npx @fastly/compute-js-static-publish@latest --root-dir=./_site --kv-store-name=site-content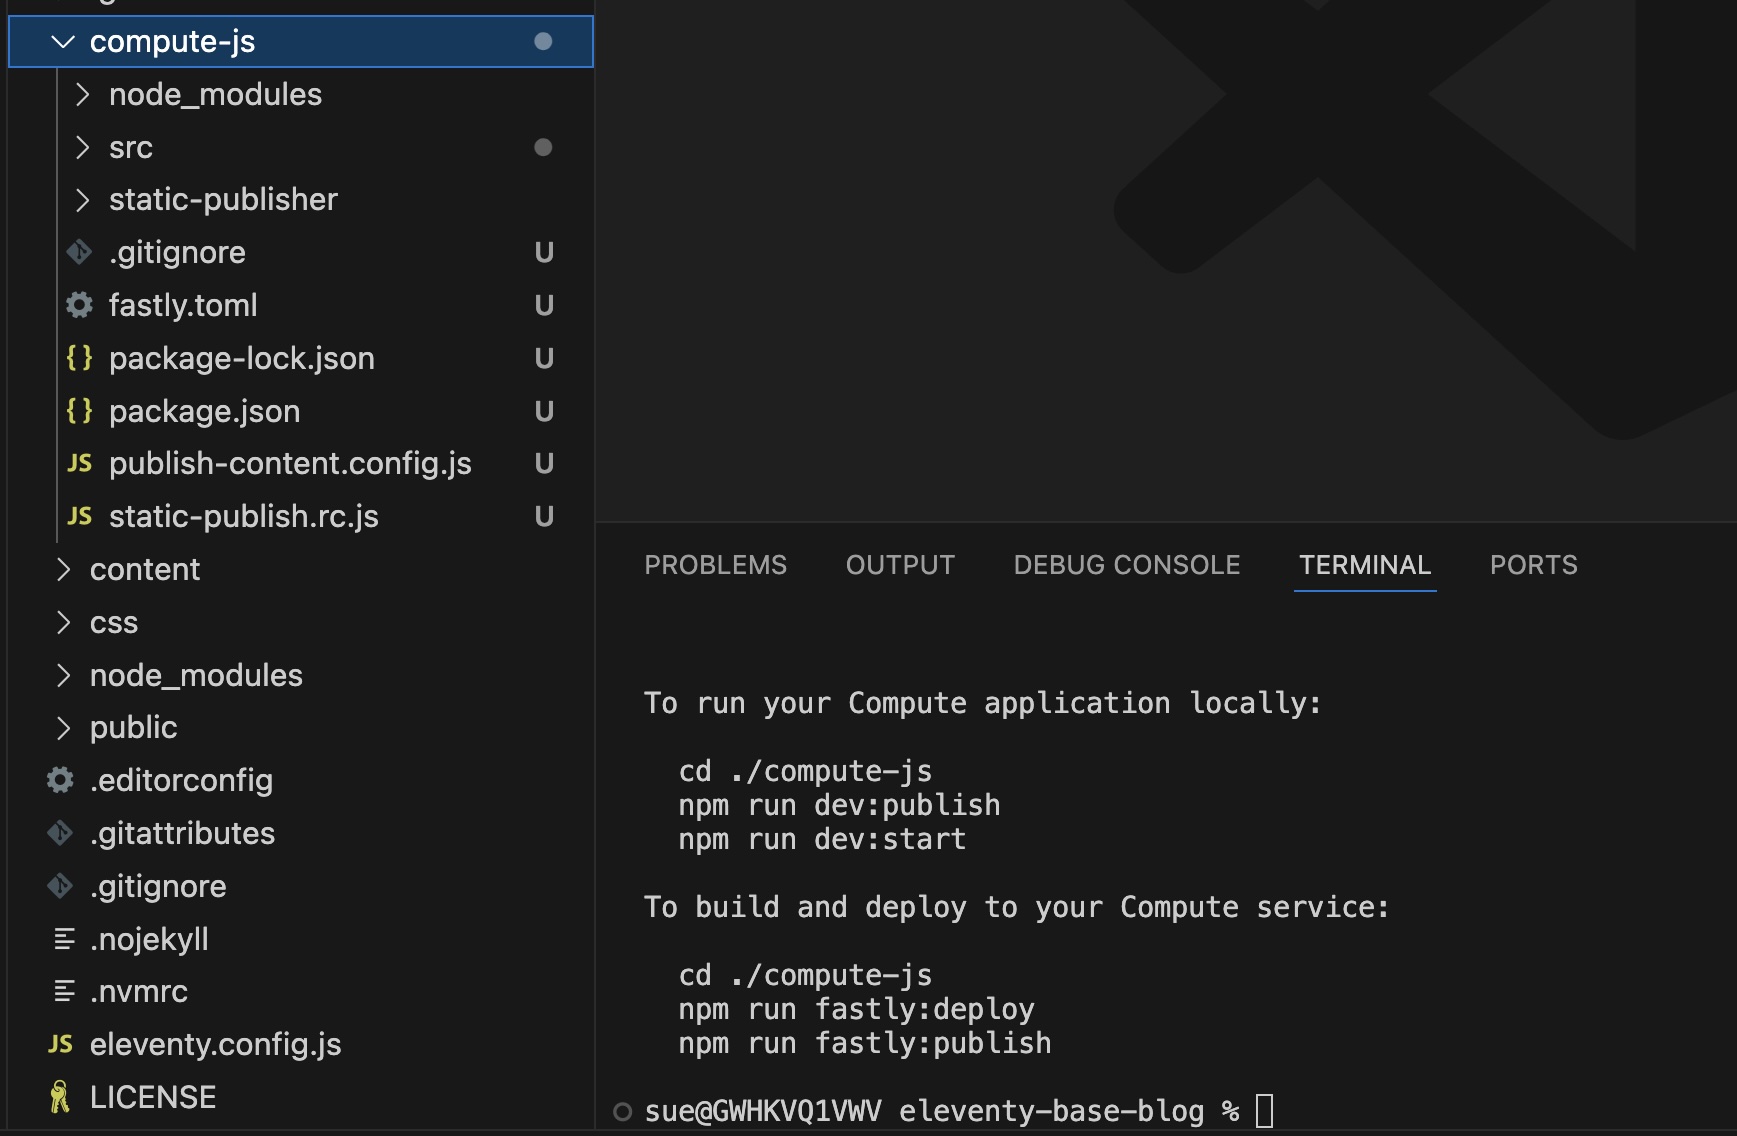
This command will grab the Fastly tooling and set up the Compute app logic, placing the scripts in the compute-js directory by default.
Test your site locally
Make sure your website is working the way you want it to by testing it locally on your computer.
Install dependencies for the Compute app:
cd compute-js && npm installPublish your site content to a local KV Store for testing:
npm run dev:publish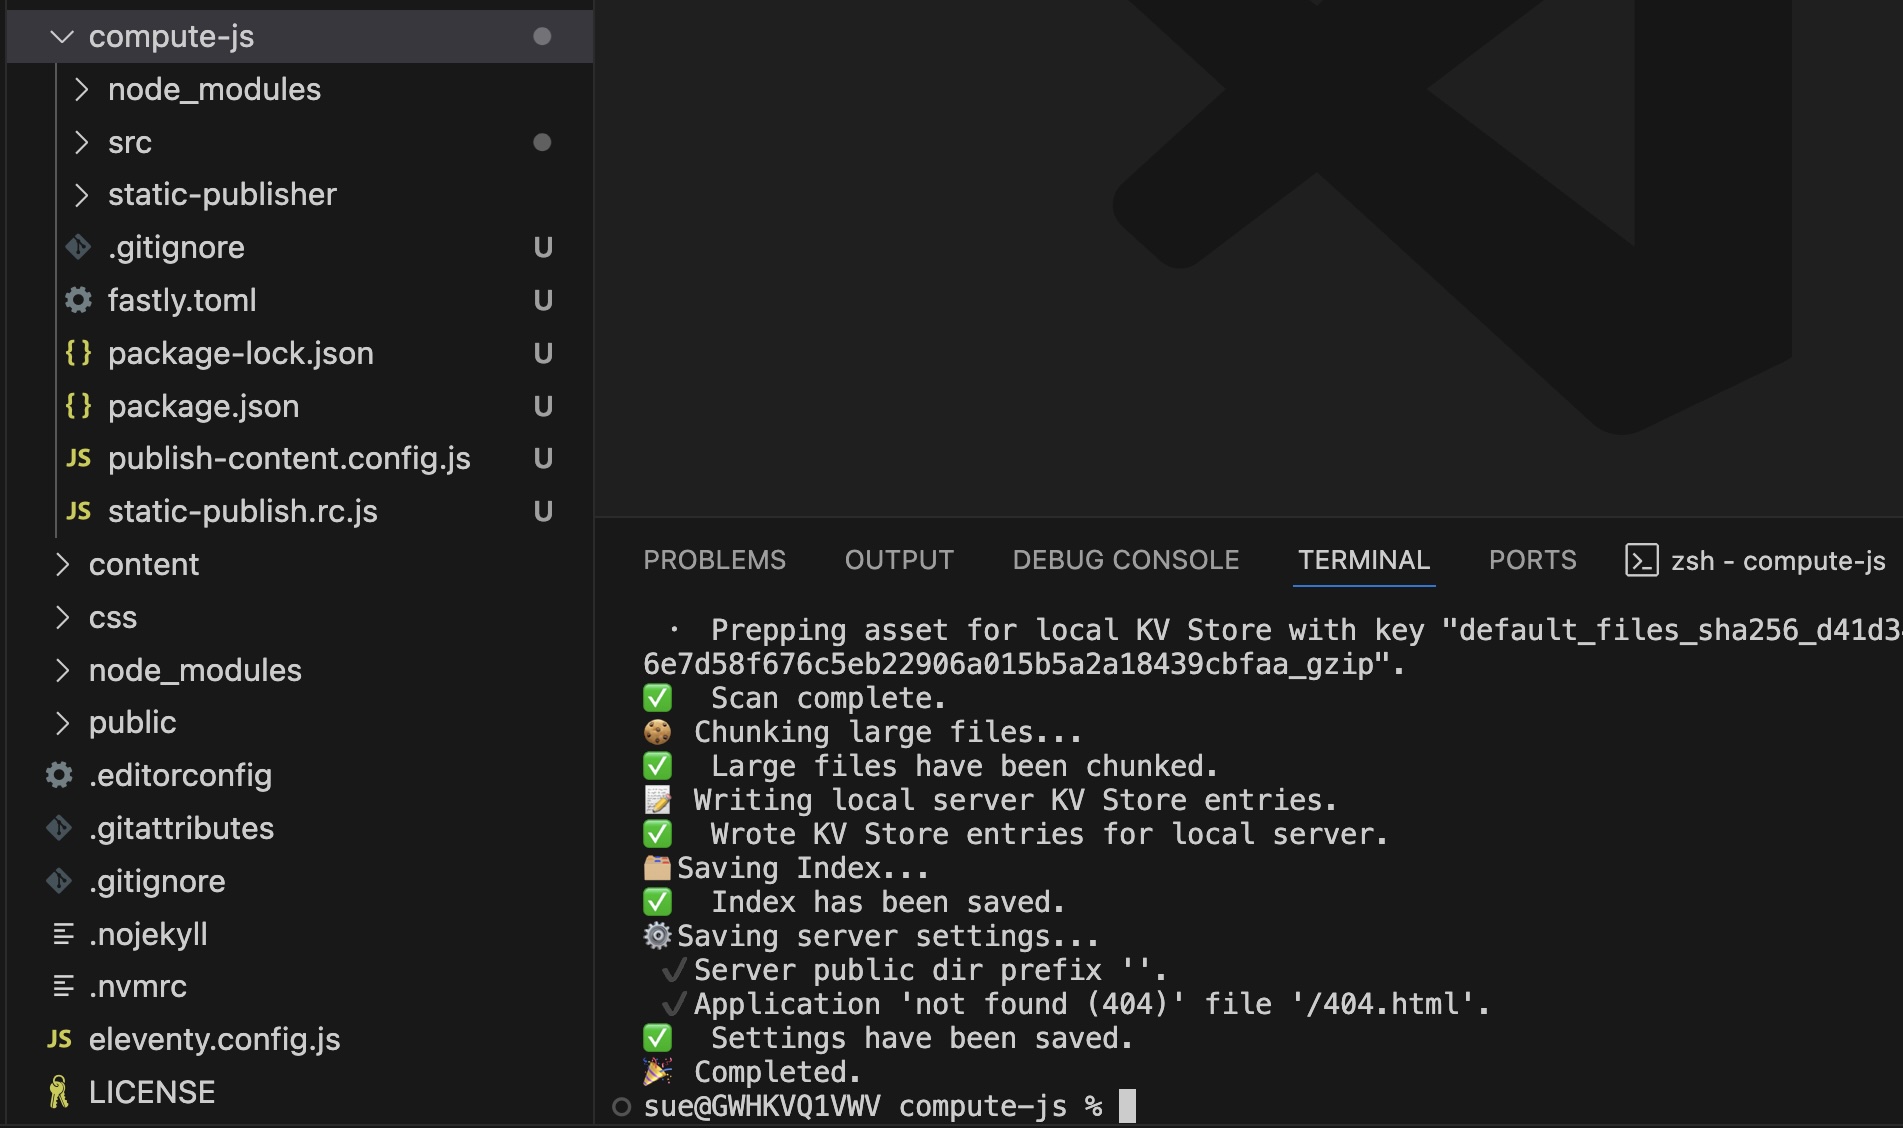
Start the local server to preview your app in the browser:
npm run dev:start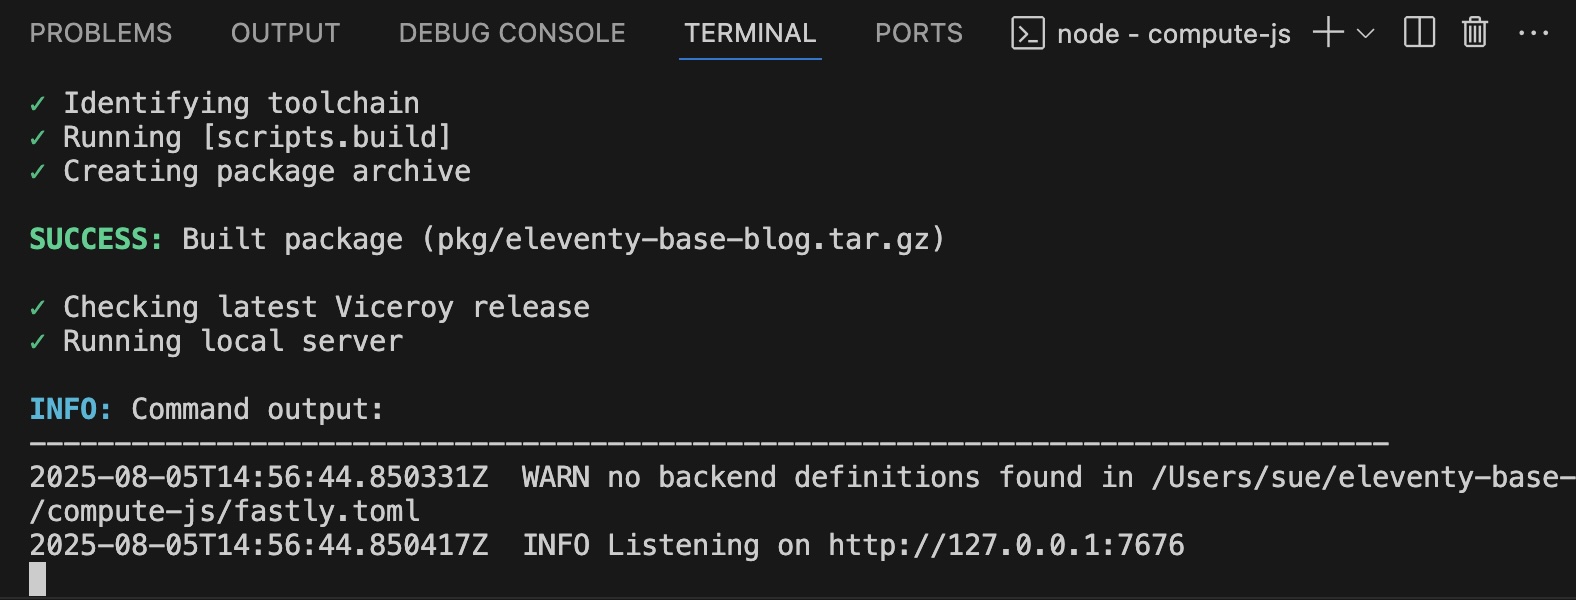
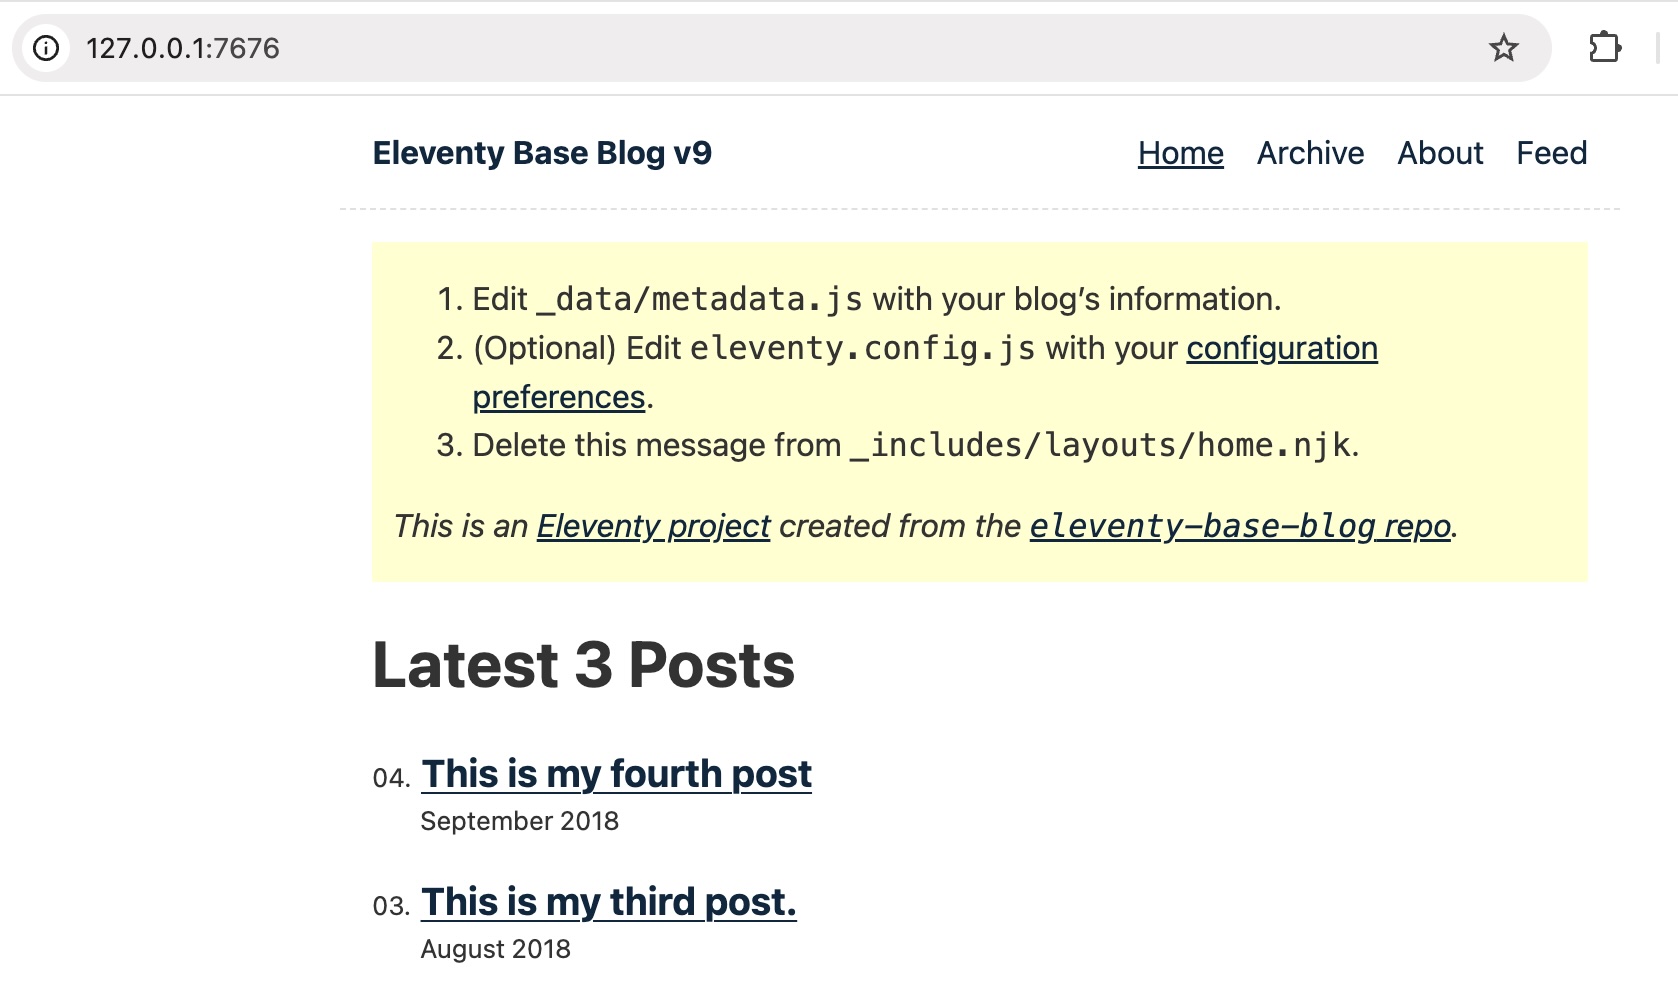
Your terminal output will include the link to view your test website. Open the link and click around to make sure your content is behaving the way you expect it to.
Deploy your app to Fastly
The first time you publish your site, you’ll need to deploy the Compute app to your Fastly account. Once it’s set up, you won’t need to deploy it again unless you want to change the way the Compute app works.
Set up your account
Sign up for a free Fastly account if you haven't already.
Generate an API token to deploy your app to Fastly:
- Go to Account > API tokens > Personal tokens.
- Click Create Token, then fill out the Create a Token fields as follows. If a field isn't specified, you can leave it as the default.
- Name: enter a name for your token
- Type: Automation
- Role: Engineer
- Scope: Global (deselect the Read-only access option)
- Access: All services
- Expiration: Never expire
- Copy the token value.
- In your IDE, create an environment variable named
FASTLY_API_TOKENand give it the token you copied from your account as the value.
HINT: You can authenticate in other ways, like including your token with the commands as --token or creating a profile.
Deploy your scaffolded Compute app
Deploy your app to the Fastly network using the following command:
npm run fastly:deployFollow the on screen prompts, confirming that you want to create a new service and accepting or changing the default name and domain when prompted. Leave the backend option empty.
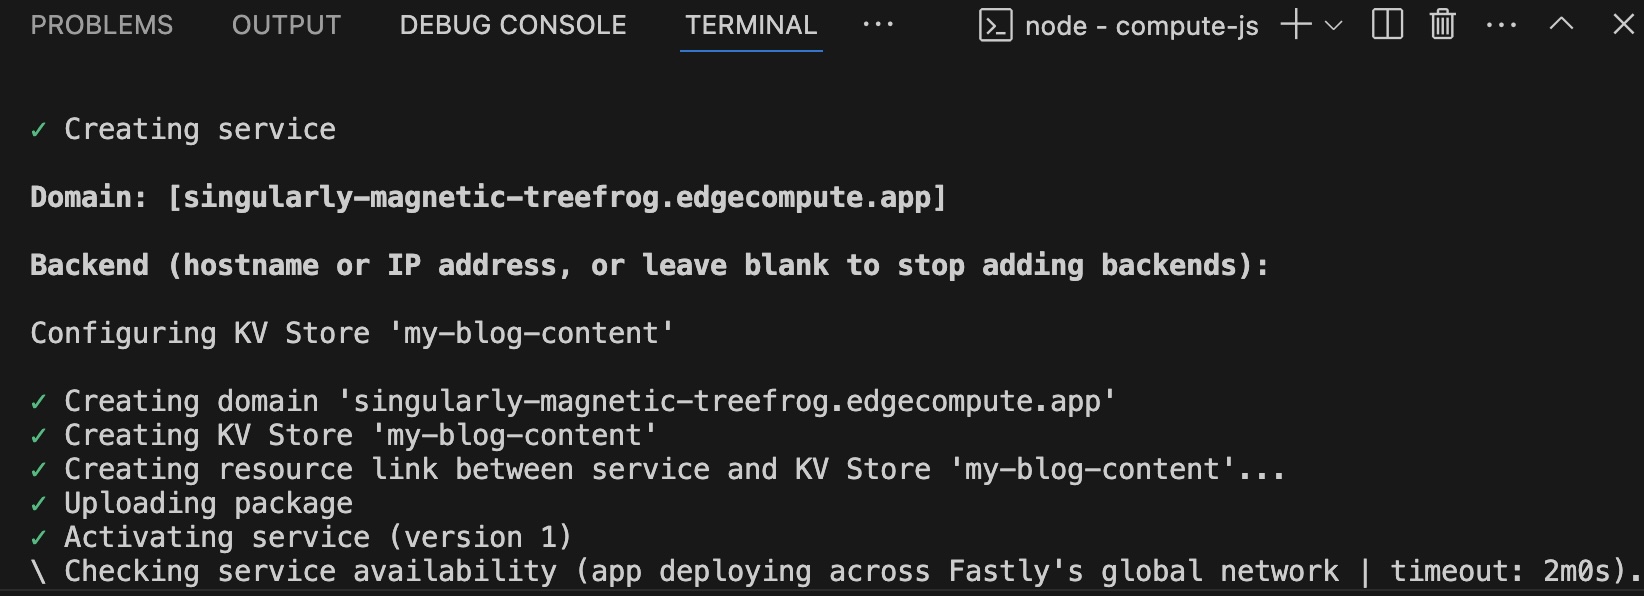
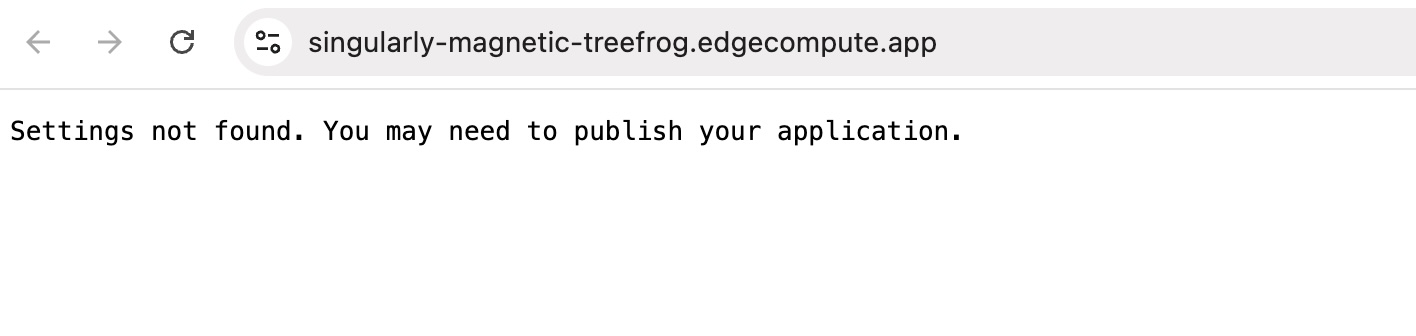
This will deploy your app to the edge, but the content won’t be visible yet because you need to upload it to a KV Store. The terminal output will include a Fastly-assigned test URL ending in
edgecompute.appwhich you can use to access your site. You can optionally add your own domain to the service later.Go ahead and open the link in your browser, leaving the tab open so that it’s ready to check when you publish your content in the next step.
Publish your content
You must use a publish command to get your initial website content online and each time you have new content you’re ready to share with the world, like a new blog post or an edit to existing content.
Run the publish command when you're ready:
npm run fastly:publish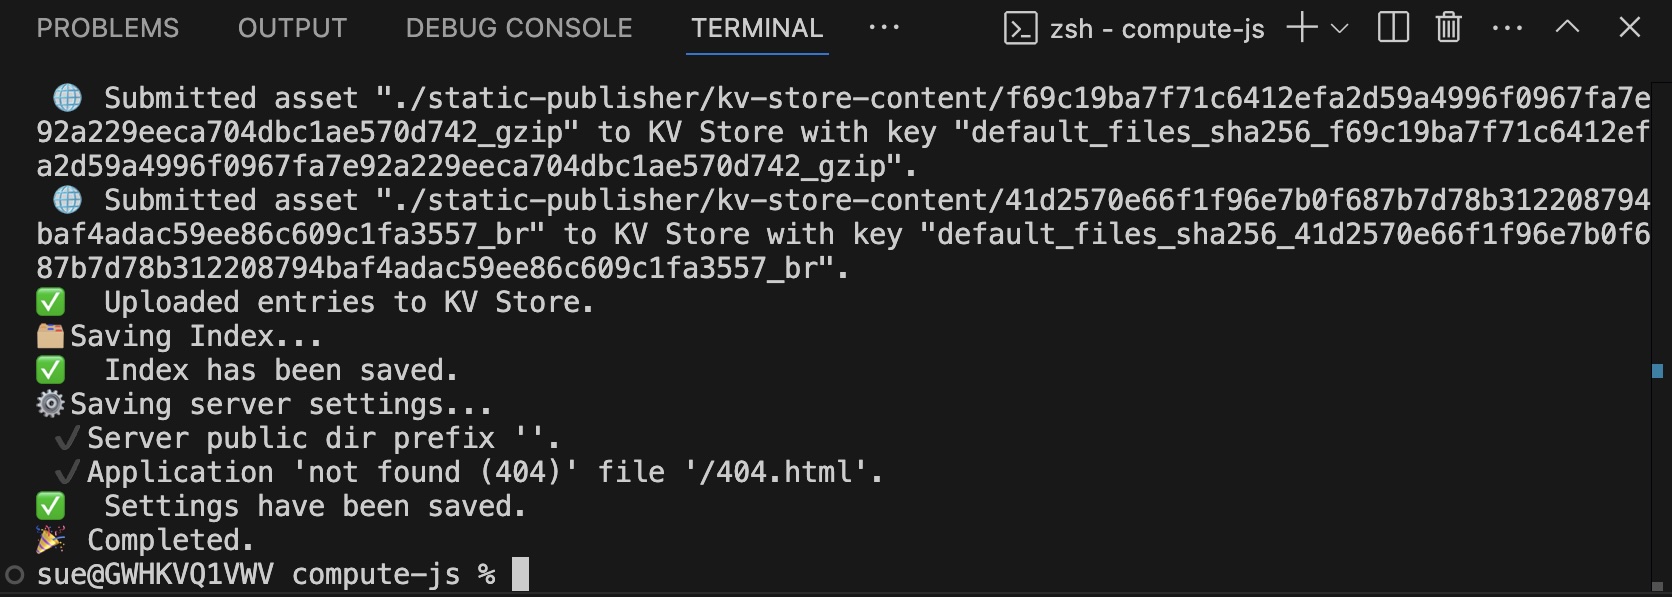
When the process has completed, reload the
edgecompute.appURL you opened after the deployment step. With any luck your website content will now be live!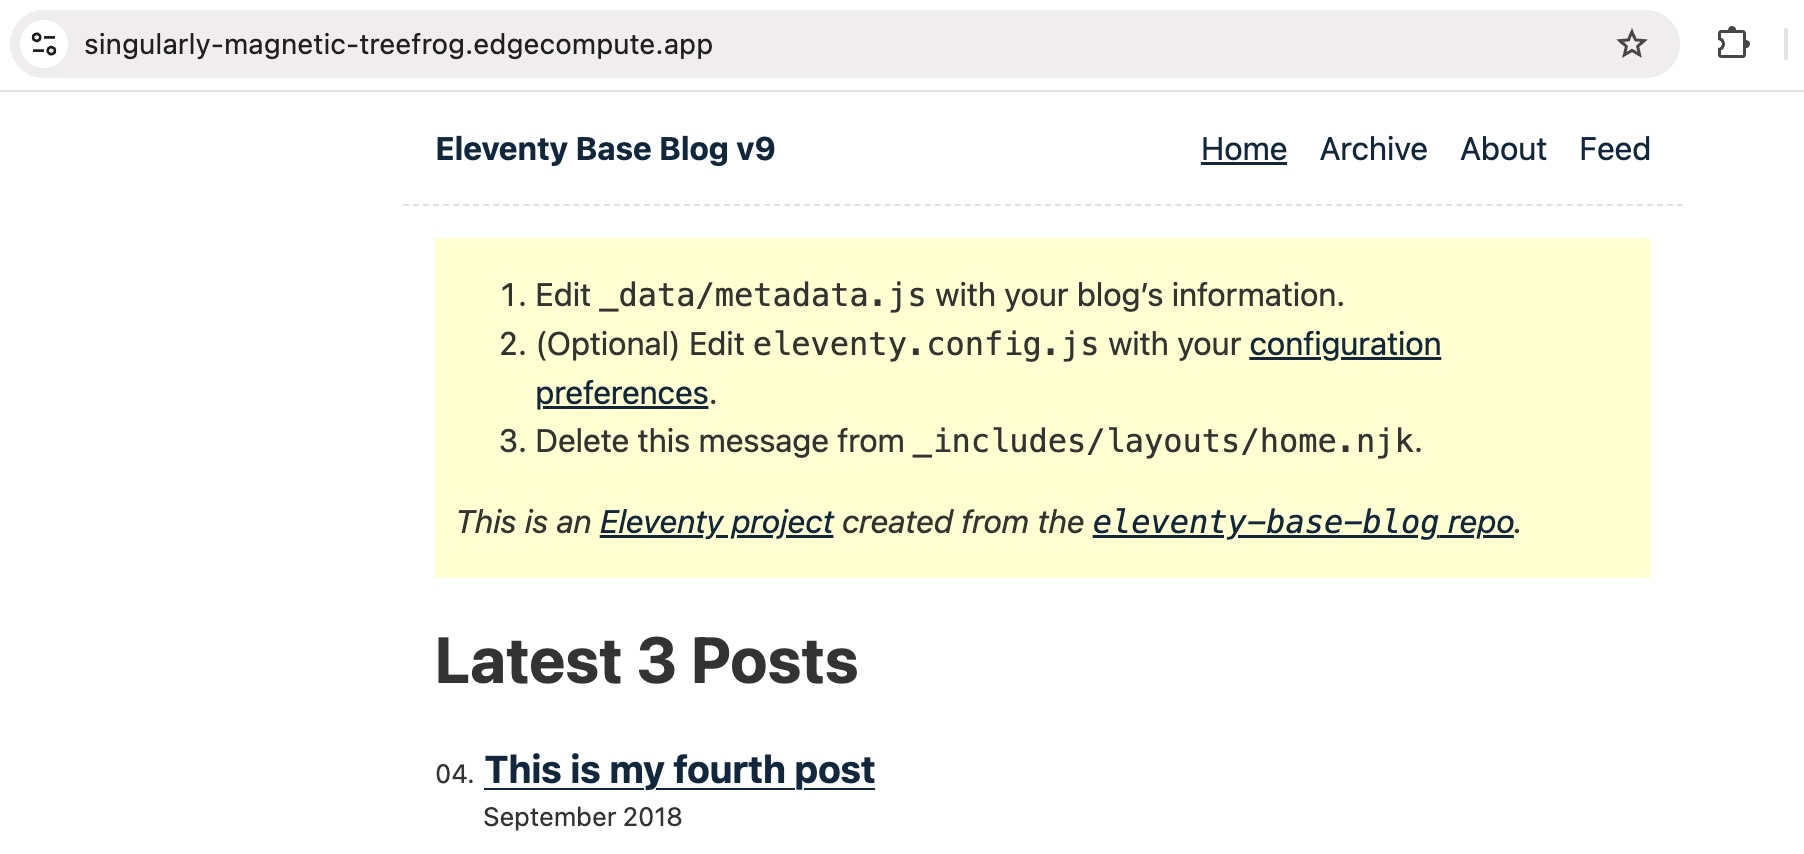
When you have new content you want to publish, all you need to do is build locally, then run the publish command again.
IMPORTANT: Remember that you only need to run the fastly:deploy command once. When you have new content to publish, run your static site build process, then use the fastly:publish command.
Advanced usage
This tutorial walked through the basic flow for using the Static Publisher to serve your site from the edge, but there are lots of other options to explore if you want to enhance the processing your Compute app carries out:
- Define collections to publish content for preview purposes
- Customize the logic of the Compute app
- Choose additional configuration options to suit your project
What to try next
Keep going! Take your static site to the next level:
- Point your own domain at your new site
- Add a custom domain to your service and grab a TLS certificate, then point your DNS at Fastly.
- Check out the GitHub Codespaces flow
- Publish an Eleventy blog from your browser with no local developer environment setup
- Learn more about publishing websites with no origin
- Read about what else you can do with the Static Publisher library
