
Fastly Ad Tag Gateway
Fastly Ad Tag Gateway allows you to deploy Google scripts using domains added to your Fastly services, enhancing data privacy and improving signal measurement recovery. You can use Google Tag Manager to set up the integration between Google tag gateway and Fastly. Once the integration is set up, Google tag gateway loads the tag from your domains and sends measurement events to your domains, where they're forwarded to Google.
Limitations and considerations
When using the Fastly Ad Tag Gateway integration, keep in mind the following limitations.
- To use this integration, you must have a Google Tag Manager container installed on your website.
- Enabling this integration may affect Google tag firing behavior. You may need to adopt Consent Mode and review your consent settings to ensure that your preferences are respected.
- You can only use domains that are added to Fastly, active, and have valid TLS certificates.
- You can only associate your Google Tag Manager account with one Fastly account.
Enabling Fastly Ad Tag Gateway
There are two ways of enabling Fastly Ad Tag Gateway. You should use only one set of instructions depending on your current Fastly service configuration:
- Google Tag Manager: Designed for one or more domains. Use these instructions if you want to enable Fastly Ad Tag Gateway for specific domains.
- Manual Fastly service configuration: Designed for an entire Fastly service. If you have more than one domain associated with your Fastly service, do not use these instructions unless you want to configure Fastly Ad Tag Gateway for all of the domains on the service.
Using Google Tag Manager
Follow these steps to use Google Tag Manager to enable the Fastly Ad Tag Gateway for your Fastly account.
Log in to Google Tag Manager.
Select the Admin tab, and then select Google tag gateway. The Google tag gateway introduction page appears.
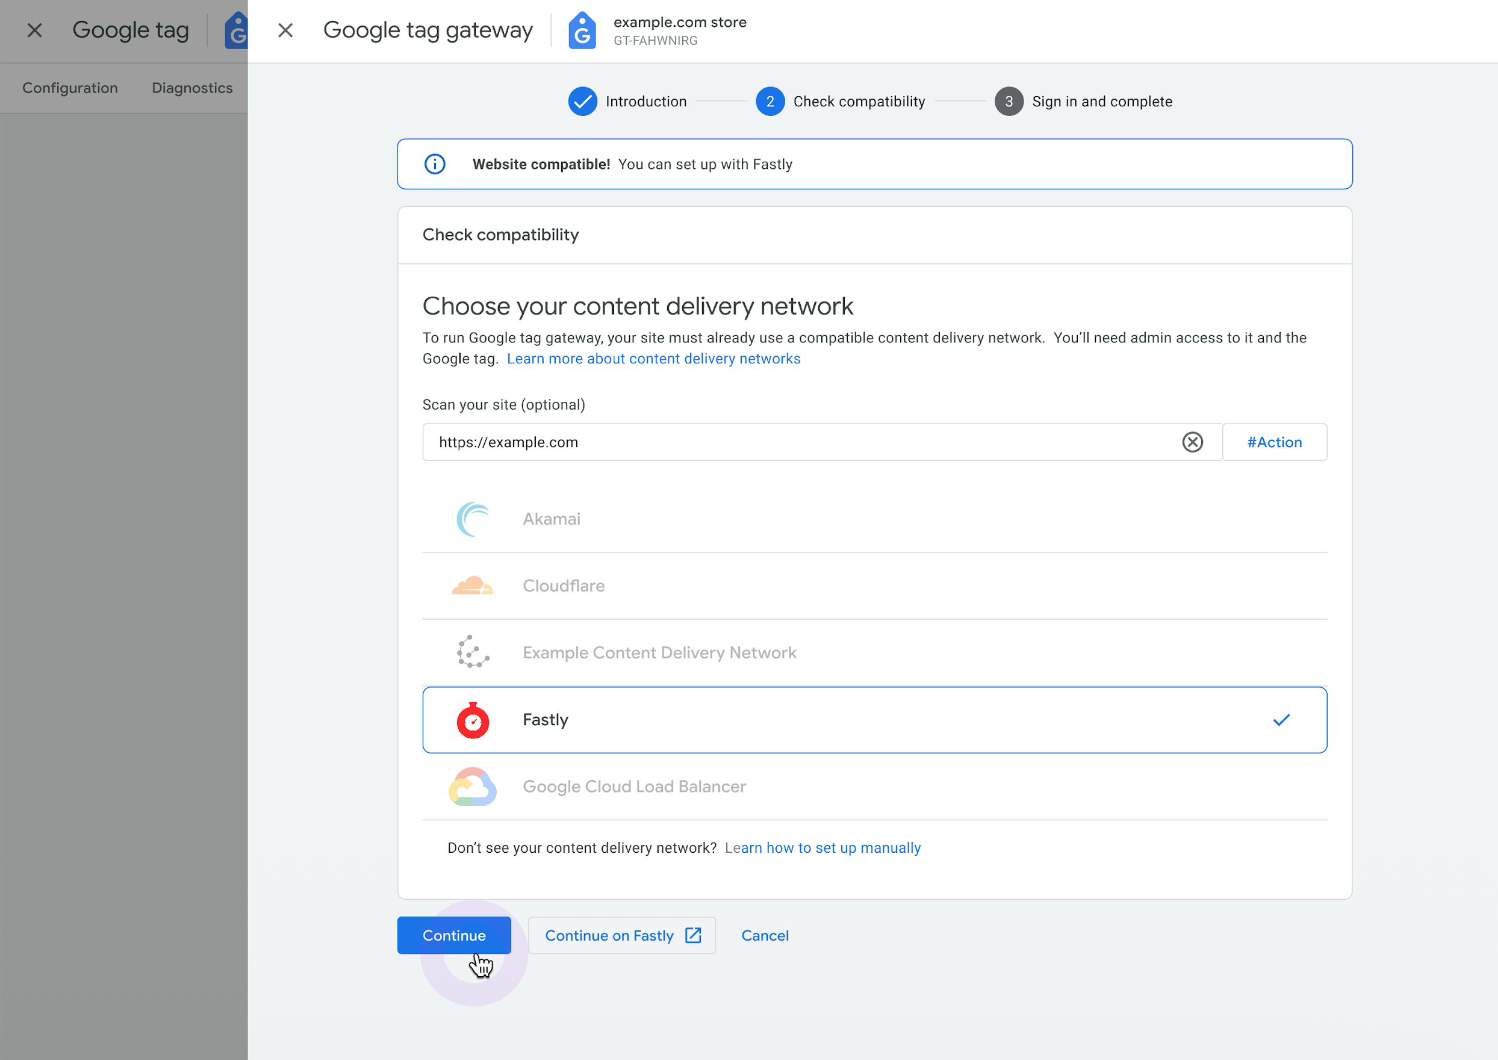
Click Continue. The Check compatibility page appears.
Enter your domain and click Scan.

Select Fastly and click Continue.
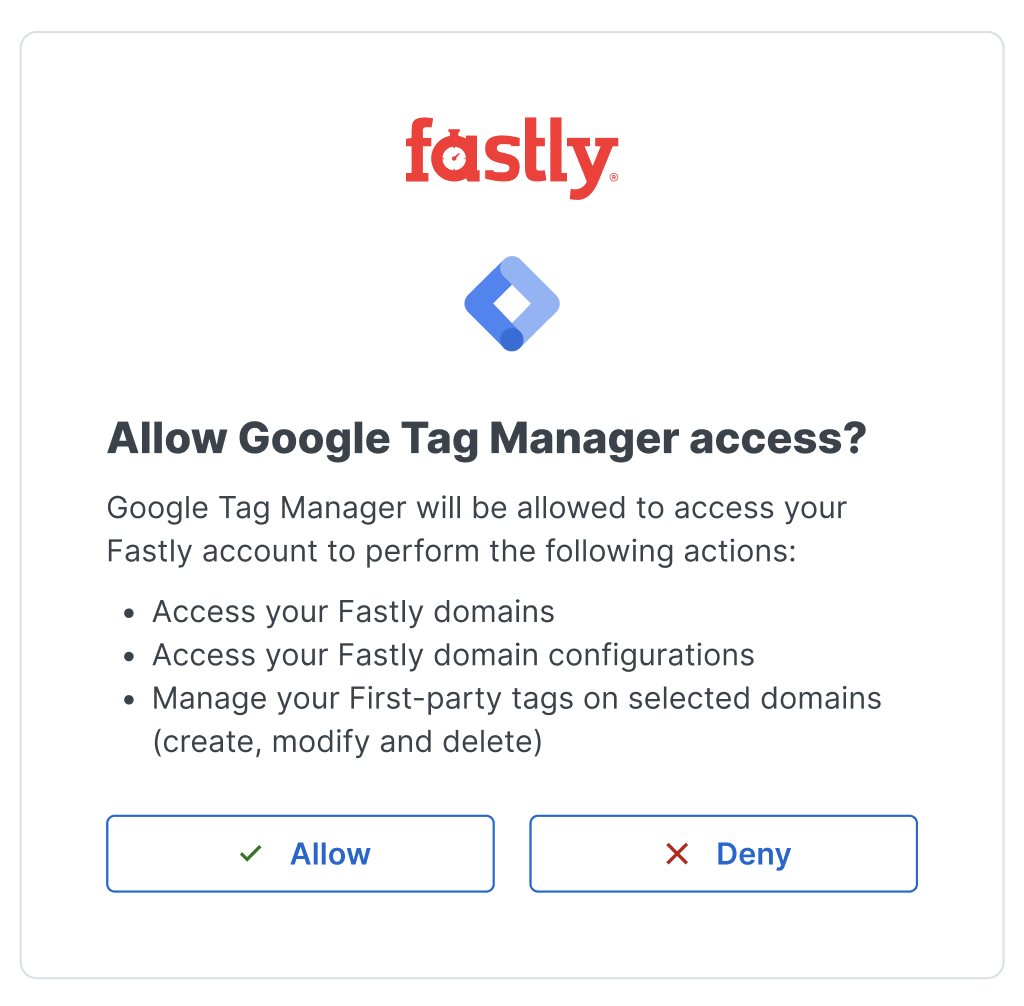
Click Sign into Fastly to log in to your Fastly account and enable the integration.
(Optional) Edit the measurement path to change where Google tag sends data on Fastly. This defaults to a random string to prevent the updated Google tag behavior from interfering with other behaviors on Fastly.
Verify that the domains you want to use with the tag are in the list. If you need to add or remove domains, click the pencil icon.
Click Complete setup.
Manually configuring your Fastly service
To serve your tag, you'll need to add a condition and VCL snippets to your Fastly service to forward requests and add geolocation information.
Creating a condition
- Log in to the Fastly control panel.
- From the Home page, select the appropriate service. You can use the search box to search by ID, name, or domain.
- Click Edit configuration and then select the option to clone the active version.
- Click Conditions, and then click Create Condition.
- Fill out the Create a condition fields as follows:
- From the Type menu, select Request.
- In the Name field, enter a name for the condition (e.g.,
Google Tag Gateway Measurement Path). - In the Apply if field, enter
req.url.path ~ "^/metrics".
Creating a host, attach condition, and set override host
After you've created the condition, add a new host by following the steps below:
- Click Origins.
- Click Create a host.
- In the Hosts field, enter
fps.goog. - Click Add to add your host.
Next, attach a condition and set an override host by following the steps below:
- In the Hosts area, click the pencil
 next to the host you just created.
 - Click attach a condition, and then select the condition you created earlier.
- In the Override host field, enter
fps.goog. - Click Update to save the settings.
Adding VCL snippets with Google Tag ID and geolocation headers
Next, create VCL snippets to attach your Google Tag ID and the client's geolocation data. You'll create two separate snippets, one for vcl_miss and one for vcl_pass, using the exact same code.
Click VCL.
Click VCL Snippets.
Click Add snippet.
Fill out the Add VCL snippet fields as follows:
Using the Type controls, select Regular to create a regular VCL snippet.
In the Name field, enter an appropriate name (e.g.,
Geo_MISS).Using the Placement controls, select Within subroutine.
From the Subroutine menu, select miss (
vcl_miss).In the VCL editor, add the following code, replacing
GTM-XXXXXXXXwith your Google tag:if (req.url.path ~ "^/metrics") {set bereq.http.X-Gtg-Tag-Id= "GTM-XXXXXXXX";set bereq.http.X-Forwarded-Country = client.geo.country_code;set bereq.http.X-Forwarded-Region = client.geo.region;set bereq.http.X-Forwarded-Geolocation = "latlog=" +client.geo.latitude + "," + client.geo.longitude + ";city=" +client.geo.city;}
Click Add to create the snippet.
Click Add snippet to create another VCL snippet.
Fill out the Add VCL snippet fields as follows:
Using the Type controls, select Regular to create a regular VCL snippet.
In the Name field, enter an appropriate name (e.g.,
Geo_PASS).Using the Placement controls, select Within subroutine.
From the Subroutine menu, select pass (
vcl_pass).In the VCL editor, add the following code, replacing
GTM-XXXXXXXXwith your Google tag:if (req.url.path ~ "^/metrics") {set bereq.http.X-Gtg-Tag-Id= "GTM-XXXXXXXX";set bereq.http.X-Forwarded-Country = client.geo.country_code;set bereq.http.X-Forwarded-Region = client.geo.region;set bereq.http.X-Forwarded-Geolocation = "latlog=" +client.geo.latitude + "," + client.geo.longitude + ";city=" +client.geo.city;}
Click Add to create the snippet.
- From the Activate menu, select Activate on Production to deploy your configuration changes.
Next steps
Now that you've enabled the integration, your Google tags will be loaded using https://example.com/measurement-path/... and measurement requests will be served by Fastly.
